
Treatment: remove and replace existing cuff, sleeve or hem
Problem addressed: worn or damaged cuff, elbow or hem; wrong length sleeve or body
Ideal fabric type: stocking stitch (plain knit), up to 50 stitches per 10cm
 WHAT DOES IT INVOLVE?
First, design your new cuff/hem, including the ratio of old to new stitches. Unpick the underarm/side seam.
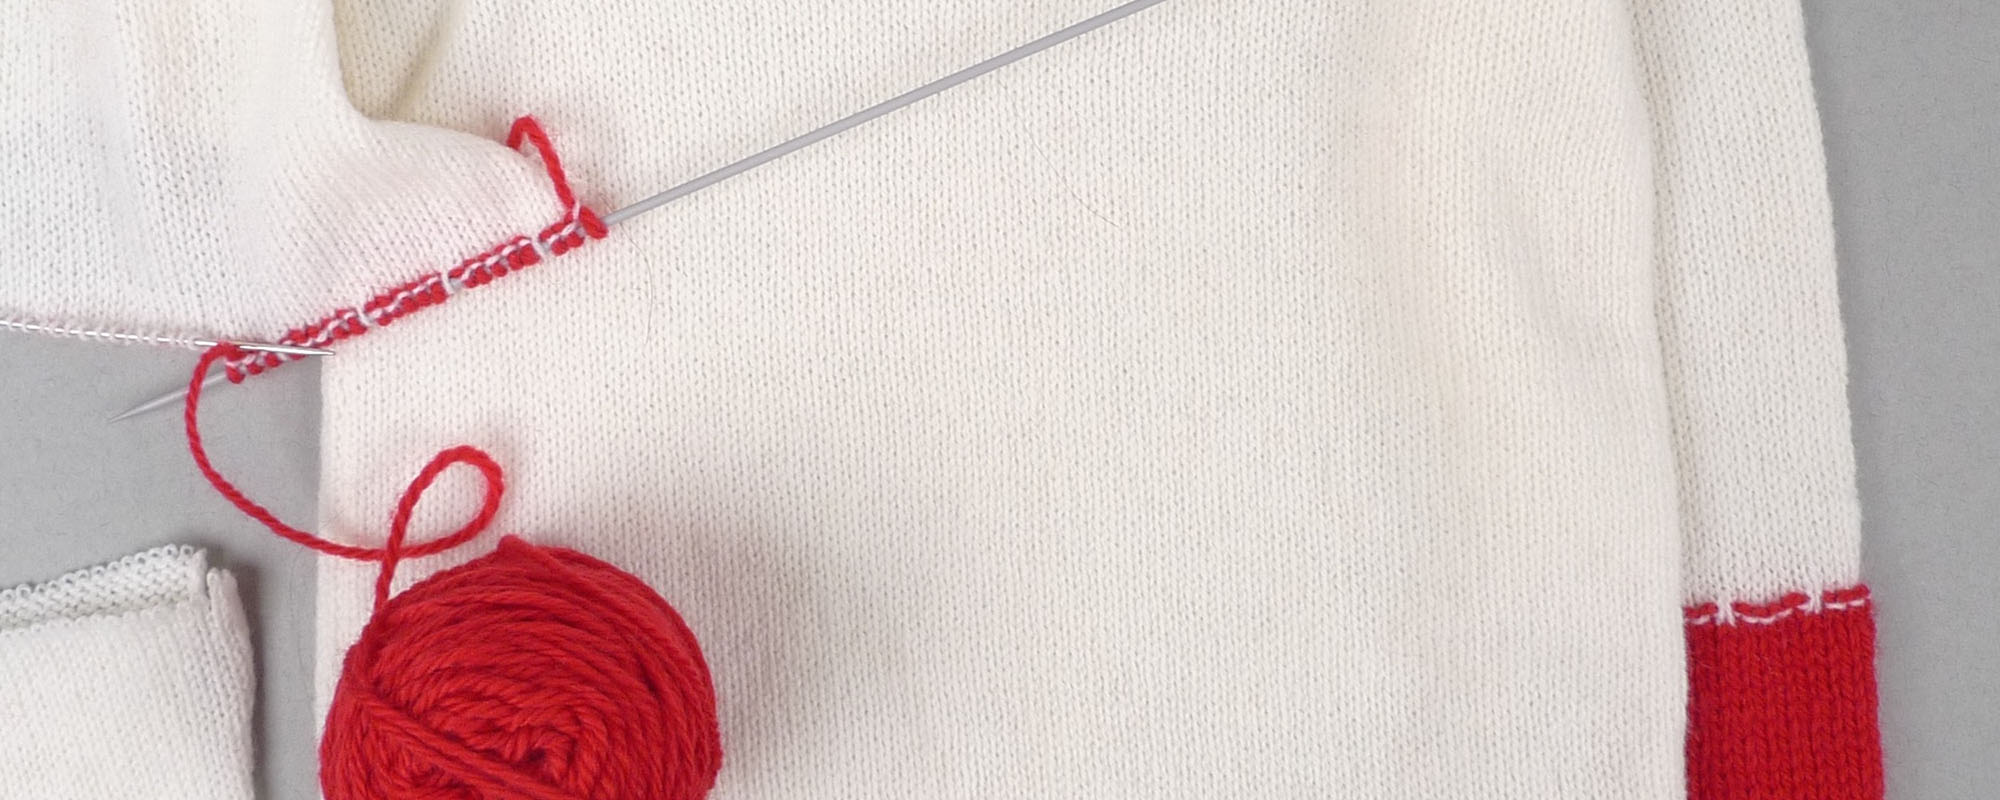
Open a row in the desired position and pick up the stitches of the upper section. Knit the first rows, changing gauge if required. Continue knitting and cast off.
Finally, sew the underarm/side seam.
WHAT COULD IT LOOK LIKE?
- Contrasting or tonal, with the option of stripes/patterns
- Consider integrating yarn unravelled from the old section to ‘tie in’ the new part with the existing garment
- Make a feature of the transition between old and new
- New section could be a different length to the original
- Create matching, complementary or alternative edgings
Here are some finished projects:


Read more about completed cuff replacement projects by viewing project gallery posts tagged ‘replace cuff’.
HOW DO I DO IT?
Step 1: open seams
Step 2: open row, pick up stitches and knit
Step 3: sew seams
HOW DO I DESIGN IT?
The key challenge in working a replacement cuff is gauge: matching the size of the stitches, or making knit chunkier while maintaining the same width of fabric.
First, count the stitches per 10cm (st/10cm) in your existing garment to establish the gauge.
If the fabric has up to 30st/10cm, the easiest approach is to match the gauge. Look up your st/10cm figure in the chart below as a guide to the type of yarn and needle size to try. Bear in mind that this is a rough guide – individual yarns and personal tensions will vary. Knit a sample and make adjustments, if necessary, to achieve the same gauge.

If the fabric is finer than you wish to knit (and especially if it is 30-50st/10cm), you need to change gauge. Use the chart below: identify the weight category your existing garment falls within, and follow the arrows to see possible weight categories for your replacement section. Select a target gauge and sample using the suggested needle, adjusting if needed. See Step 2 video above for an example.

Finally, select a transition pattern from the options below. Use the version relating to the relevant ratio (1:1 if matching gauge; 4:3, 3:2 or 2:1 if changing gauge). Add plain stitches at each end of row if needed.


TOP TIPS
- Practise the techniques on scrap fabric
- Avoid picking up stitches in ribs – open a row above the rib
- Decide where to start your replacement cuff/hem by sewing a marker thread and trying the garment on
- Measure the existing cuff/hem before removing, and make any adjustments to length or shape – then calculate any shaping required
- Integrate yarn unravelled from the old section to the new knitting to help the garment hang together as a whole
- Use a loose cast off (such as Jeny’s surprisingly stretchy bind-off) to ensure your edges are not too tight

This work is licensed under a Creative Commons Attribution-ShareAlike 4.0 International License. You are free to copy, distribute, remix, tweak, and build upon any of the material on this page, for non-commercial or commercial purposes, as long as you credit Amy Twigger Holroyd/#reknitrevolution and use the same Creative Commons license for your new work. Please go forth and share!
Also, please note that these instructions are in beta mode; feedback is most welcome. Email comments to amy@keepandshare.co.uk.
