Today’s addition to the reknitting project gallery is a project created by Margaret, one of the participants in my PhD research project in 2012-13.
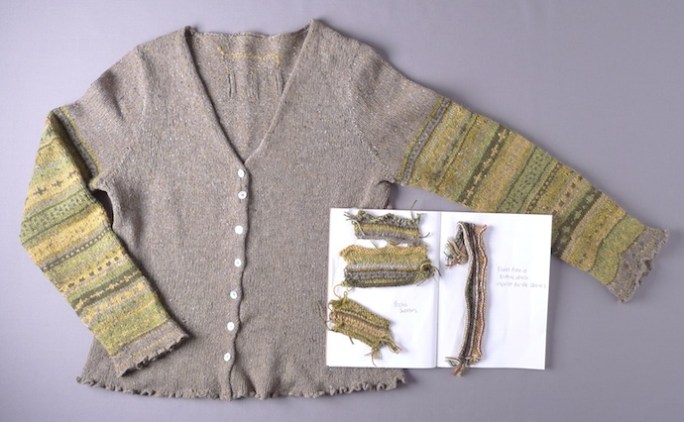
 My favourite cardigan was full of holes – especially the sleeves. So I hadn’t worn it for a long time, but I couldn’t throw it out – it had lots of happy memories!
The thought I could resurrect it was inspired by a photo Amy showed us of some socks that had been reknitted many times, so that they were now very old.
I decided to reknit both sleeves. I would darn any other holes and do some stitch hacking on the back.
 First, the sleeves:
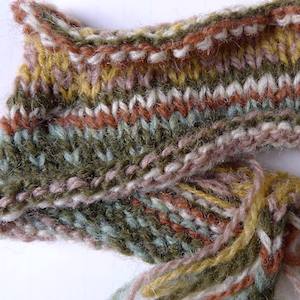
After removing the sleeve, I was going to knit stripes, but, after finding a sample of fairisle knitting in my wool bag, I decided the patterns would look more subtle and fit in better with the mottled nature of the wool in the cardi than stripes, which seemed too sharp and defined.
I pulled out all my green and yellow wools I had spare, and after a few samples, I began. I had counted 150 rows were needed and knew where the decreases should be.
I began, but soon just enjoyed the random nature of the patterns and so decided as I went on how to pattern, rather than stick to a plan. I found the process very enjoyable and liberating.
 I had already decided I wanted to graft the frilly end of the original sleeve back onto the new knitted sleeve. The grafting was very satisfying and worked well.
When it came to knitting the second sleeve, I sought advice from the group. I was so pleased with my first sleeve I wondered whether to:
- reknit the second exactly the same
- reknit totally different
- reknit some patterns, but in different colour combinations
I decided on the third option, and grafted the frilly end as before.
 The stitch hacking didn’t show up very well due to the nature of the wool, but I enjoyed cutting the garment, going into it and changing it and coming at again. It really felt 3D.
Garment: now finished, ironed and of course I’ve worn it already.
Want to have a go? Check out the replace cuff and stitch hack instructions pages for detailed step-by-step guidance, or take a look at other projects in the gallery for inspiration.
